Tires don’t politely retire—they cling to rims, trap water, and come with a rulebook thicker than their tread. While DIY is possible with the right steps, professional tire removal services make the process safer, faster, and fully compliant. Remove, stage, route, and document—that’s the plan.
Using a Tire Changer for Easy Removal
Demounting is faster (and cheaper to recycle) when the rubber leaves the rim.
- Manual vs. powered: a manual tire changer (bolted to concrete) is fine for passenger/light truck tires; powered machines rule for volume or stiff sidewalls.
- Prep matters: deflate fully, remove valve cores, break the bead on both sides (bead breaker or farm jack + wood block), lubricate the bead with tire lube or soapy water.
- Leverage, not force: position the duckhead (or bar) at 12 o’clock, pry in small increments, rotate the wheel—not your spine.
- Protect the rim: plastic guards/tape on the lip; keep the bar against the duckhead to avoid gouges.
- Valves & weights: pull tire-pressure sensors carefully; save metal stems/caps and wheel weights (scrap value).
- Batch workflow: stage wheels one side at a time—pop all beads → demount all tires → stack rubber, rack rims.
Off-rim tires ride cheaper at recyclers; clean rims pay at the scrap yard. Win–win.
Safe Methods for Jacking Up Your Vehicle
Gravity is undefeated. Respect it.
- Flat ground only: concrete or packed asphalt. No dirt, no slopes, no “it’ll be quick.”
- Chock and brake: chock the opposite wheels; set the parking brake; automatic in Park, manual in gear.
- Jack points: use manufacturer jack points (pinch welds/frame). If you’re not sure, check the owner’s manual diagram.
- Lift + support: raise with a hydraulic jack, support with jack stands. Never put any part of you under a car supported only by a jack.
- Wheel-off protocol: loosen lugs before lifting, snug them after lowering. Torque to spec with a torque wrench, star pattern.
- Hands & eyes: gloves for grip, safety glasses for rust and bead pop surprises.
Slow is safe. Safe is fast enough.

Cutting Tires for Easier Disposal
Cutting helps with storage and some recycler requirements—but do it right.
- Confirm rules first: many facilities accept whole off-rim tires; some require sidewall cuts or quartering. Don’t make confetti if a whole tire is preferred.
- Tools: heavy utility knife with hooked blades, oscillating multi-tool, or a recip saw with coarse bi-metal blade. Keep water + dish soap as lube.
- Method:
- Puncture near the bead, then slice along the sidewall (avoid steel belts in the tread).
- Remove both sidewalls → you get a flexible tread “belt” that stacks flat.
- For quartering, cut crosswise through the tread belt.
- PPE: cut-resistant gloves, long sleeves, eye protection. Steel wires in belts act like needles—mind the edges.
- Heat control: stop if you smell burning rubber. Heat dulls blades and sends fumes you don’t want.
Cut the minimum required to meet the facility spec. Less work, less mess, less risk.
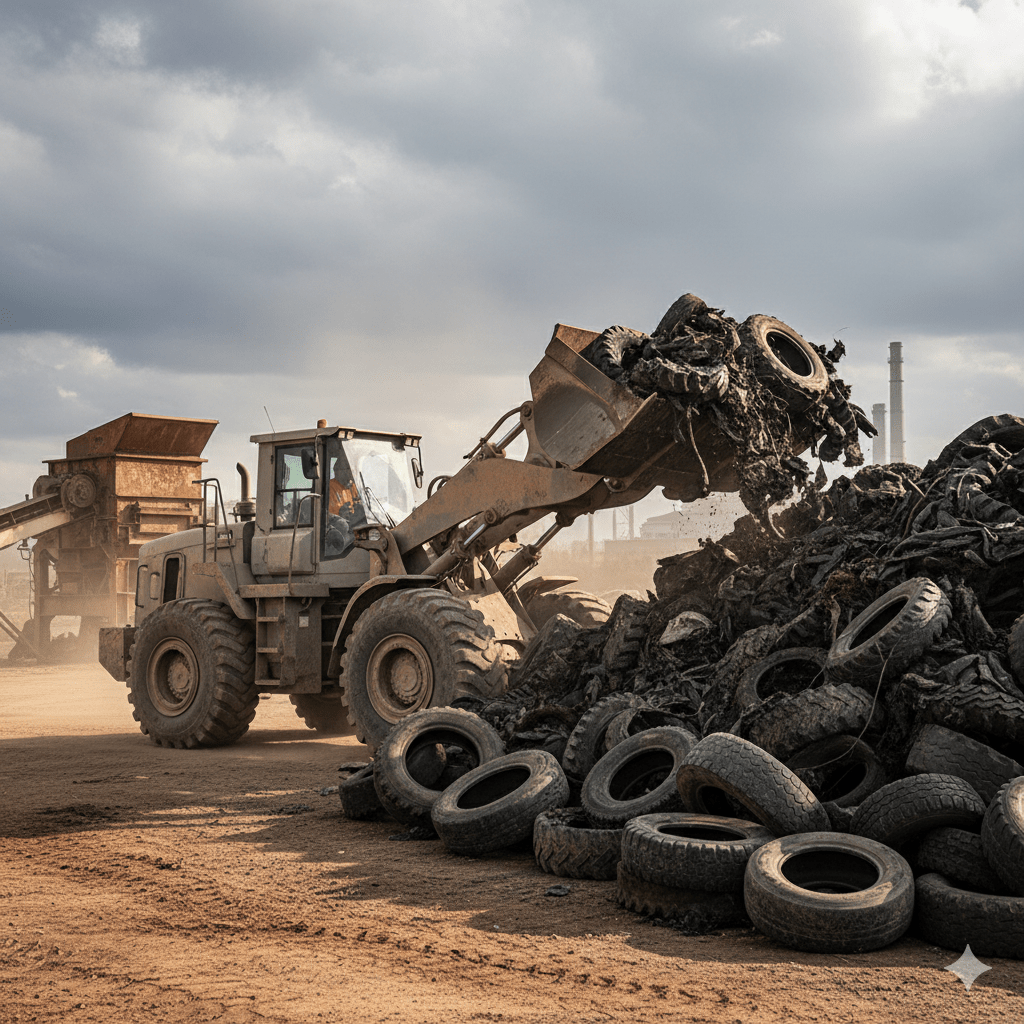
Recycling Programs and Drop-off Locations
Don’t guess—call three places and choose the best lane.
- County solid waste: transfer stations often take tires for a per-tire fee (cheaper off-rim). Some host scrap-tire events a few times a year.
- Tire retailers: many accept a limited number per day; fees vary; off-rim preferred. Ask about state scrap-tire fee credits.
- Dedicated recyclers: crumb rubber, TDF (tire-derived fuel), or aggregate processors may price by weight with cleaner loads discounted.
- Pro tips:
- Ask hours and cutoff times (recyclers close early).
- Confirm maximum count per drop.
- Verify prep (whole vs. sidewall-cut, off-rim only).
- Keep receipts for proof of legal disposal.
Clean, sorted, off-rim tires move fastest, cost least, and divert most.
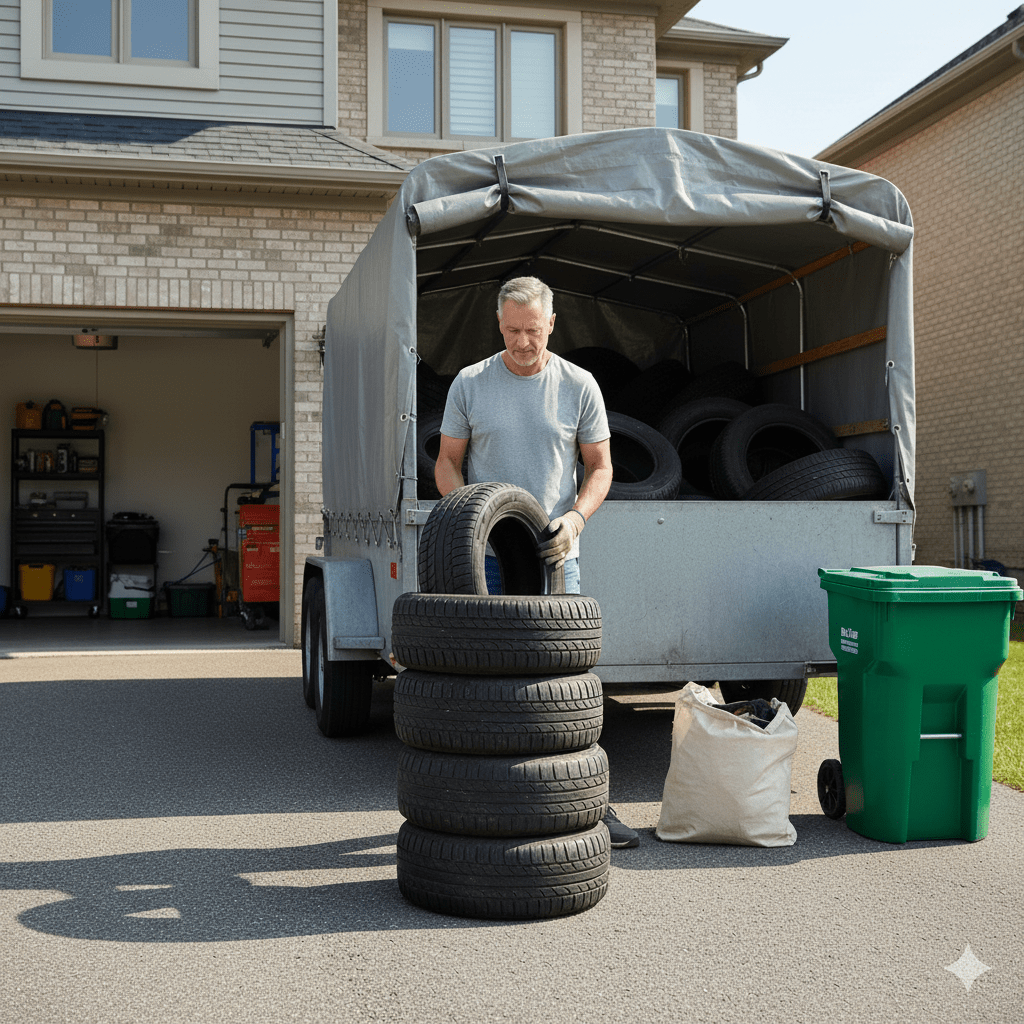
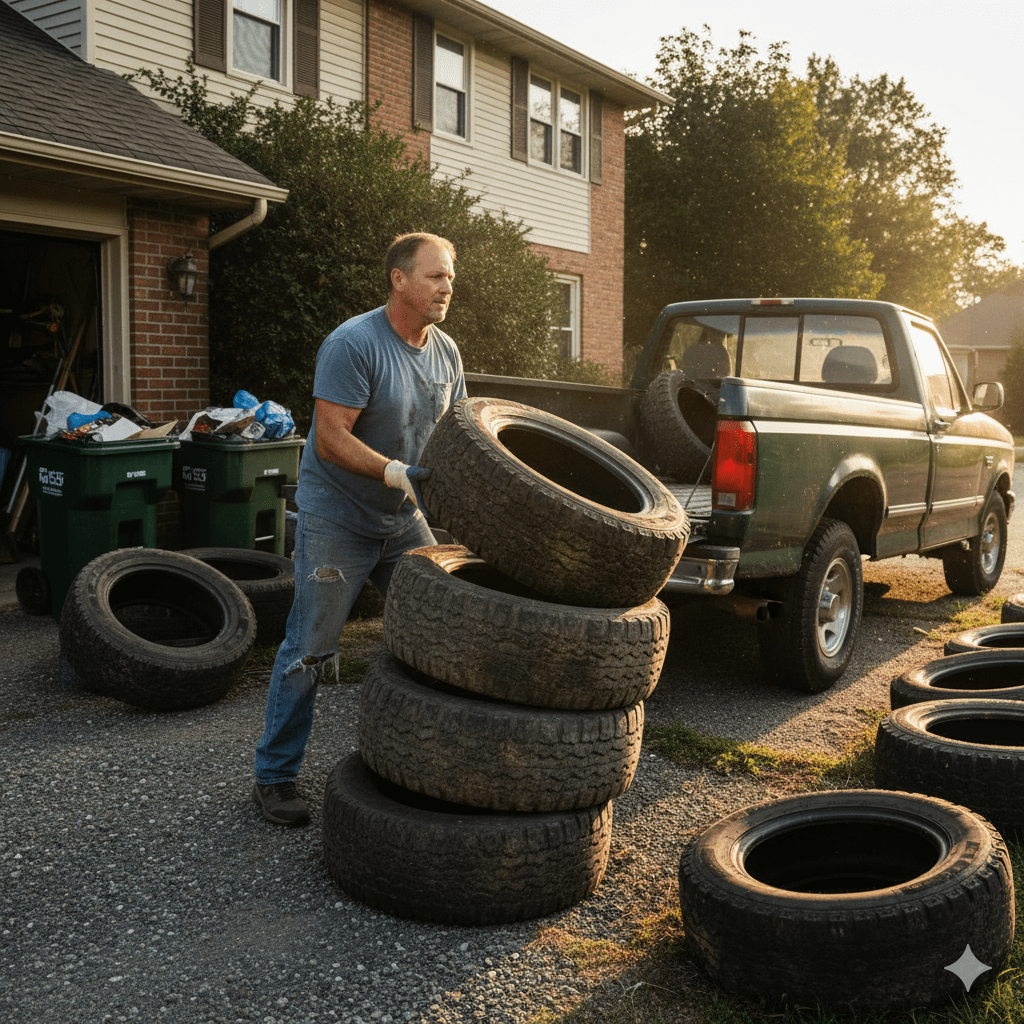
Transportation Tips for Large Quantities
Moving a mountain? Make it safe and legal.
- Stacking: nests of 6–8 for passenger tires; alternate orientation; strap every tier. Treads-to-treads reduce bounce.
- Containment: use a pickup bed net or tarp with ratchet straps; for trailers, install sideboards. Nothing leaves the vehicle at highway speed.
- Weight & licensing: know GVWR of your vehicle/trailer; tires are lighter than you think until they’re waterlogged or on rims. Check local cover laws and load securement requirements.
- Route planning: shortest path to the recycler first; landfill last (if applicable). Avoid peak traffic; watch bridge/tunnel restrictions if you’re hauling lots of rubber.
- Loading help: tire hooks, a simple ramp, and a buddy save time and rotator cuffs.
- Keep things dry: cover stacks if rain threatens—wet tires add weight and can bump you into a higher fee bracket.
Bottom line
DIY tire removal is a sequence: demount safely, cut only to spec, route to the right recycler, and haul like a grown-up. Do that, and the only thing your tires will be supporting is next year’s running track—not your side yard.