Mobile homes don’t vanish because you glare at them. They leave because you plan the exit, stage the route, and respect the physics. Demolition isn’t about swinging bigger hammers; it’s about sequencing. You cut first what frees the next cut. You separate what’s cheap to dump from what’s expensive. You keep the danger pointed away from you. Do it right and the place comes apart like a zipper. Do it sloppy and the house decides when—and where—it falls. Let’s choose the zipper.
Preparing Your Mobile Home for Demolition
Start with paper and power, not pry bars. Guesswork is how budgets and bones break.
- Permits and rules: call your city/county; ask what they need for a demo permit, street dumpster, and work hours. Park or HOA? Read their rules before they read you the riot act.
- Utilities off (documented): schedule electric meter pull, gas/propane disconnect and cap, water shutoff, sewer/septic cap, and telecom cut. Keep receipts and photos. “We think it’s dead” is not a plan.
- Hazard screening: pre-1978 finishes can mean lead paint; older roofing, tile, and duct wraps can mean asbestos. Test. If positive, stop and hire abatement. That’s not a “be brave” moment.
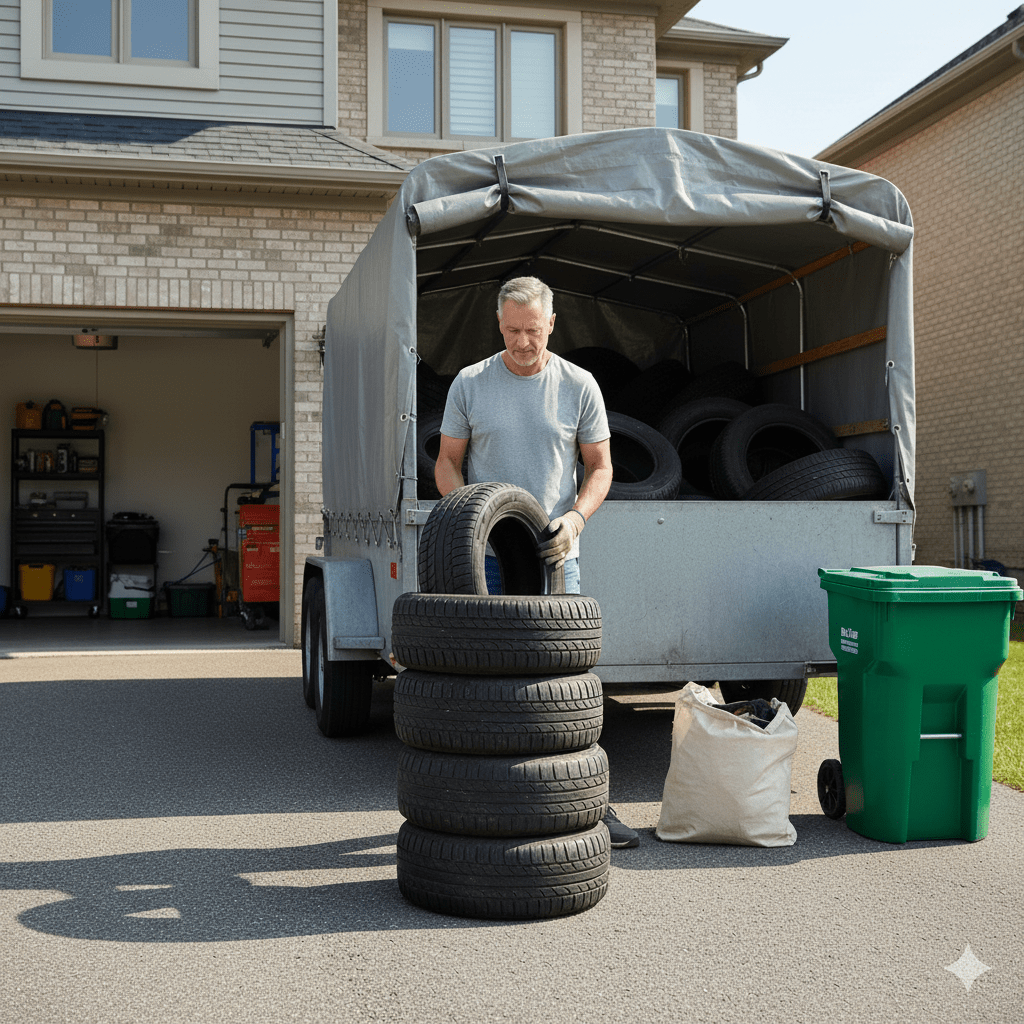
- Salvage first: remove appliances (refrigerant recovery by a certified tech), doors, windows, fixtures, copper, and clean lumber. Sell, donate, or stage. Every pound you recycle is a pound you don’t pay to bury.
- Detach add-ons: porches, steps, skirting, carports, awnings, roof-overs. Treat each as its own micro-demo so the main structure isn’t tethered to a surprise anchor.
- Plan the fall and the haul: pick a staging zone for debris, measure gate widths and overhead lines, map a single haul path to your container. Lay mats/plywood now, not after your lawn looks like a tractor soufflé.
Pro move: photograph everything before you start. You’ll thank yourself when permits, neighbors, or landlords have questions.
Essential Tools and Equipment for DIY Demolition
You don’t need a scrapyard’s worth of gear; you need the right stack, ready in the right order.
- PPE (non-negotiable): hard hat, safety glasses (ANSI Z87+), hearing protection, cut-resistant gloves, steel-toe boots, and a respirator (P100 cartridges for dust/fibers; upgrade as hazards dictate).
- Cutting & prying: reciprocating saw with demolition blades (wood/metal), circular saw (framing blade), angle grinder with cut-off wheels, utility knife, cat’s paw, 5–6 ft wrecking bar.
- Fastener warfare: impact driver, drill, assorted bits, sockets for anchors and tie-downs.
- Selective demo helpers: oscillating multi-tool for tight cuts, cold chisels, floor scraper, heavy-duty stapler (temp protection).
- Muscle on demand: 10–12 lb sledge (controlled hits only), bottle jack (for gentle nudges, not heroics), ratchet straps to guide and restrain panels.
- Site control: tarps, plastic sheeting, caution tape, traffic cones, magnetic nail sweep, contractor bags, totes, and a first-aid kit you actually open.
- Hauling: contractor wheelbarrow, appliance dolly, flat cart, and a heavy-debris container (10-yard “low-boy” is the usual sweet spot for weight limits).
Rent if it makes sense: a walk-behind saw (for clean sectioning), and a small skid steer if access allows. Machines turn “all day” into “before lunch.”
Safety Precautions and Best Practices
Demolition is choreography with consequences. Keep the structure predictable and the dust polite.
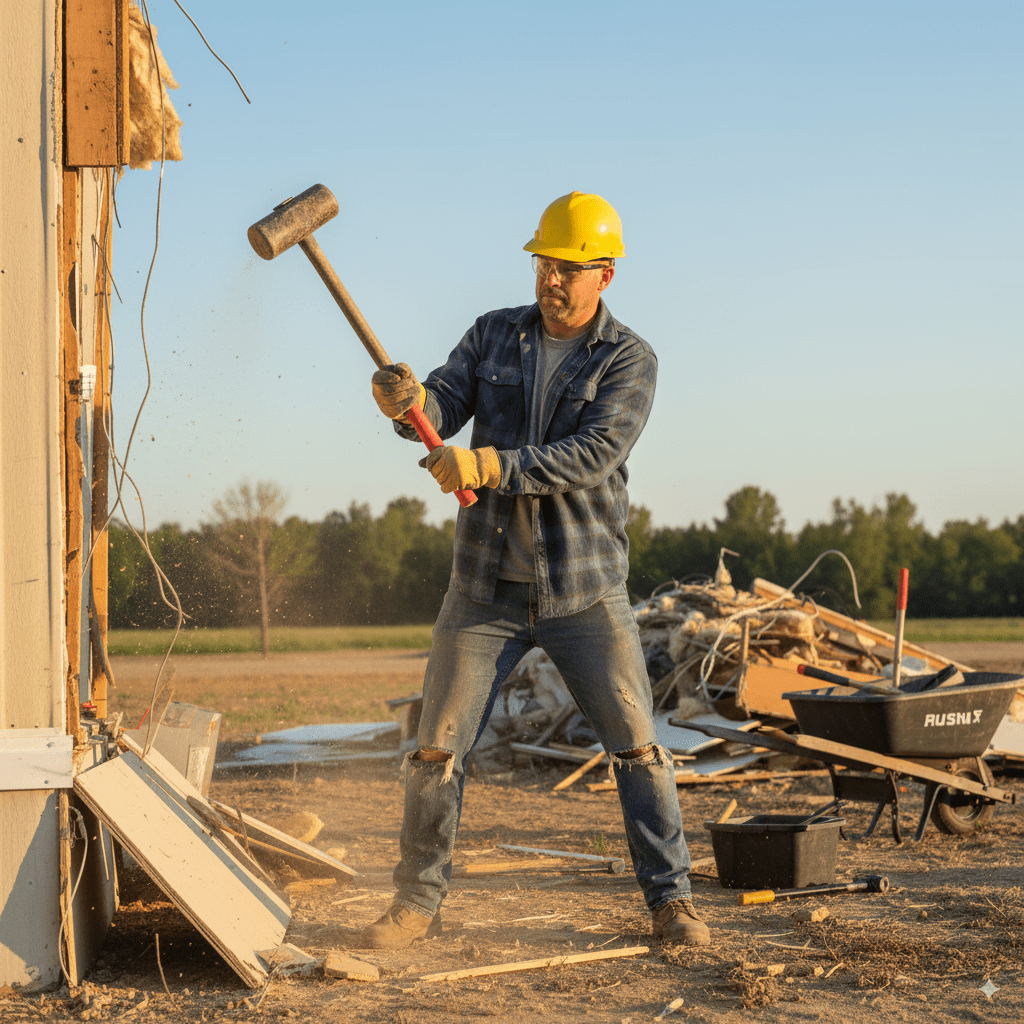
- Sequence, always: start high and light; end low and heavy. Remove fixtures, then interior paneling, then roofing and exterior cladding, then wall framing, then floors, then chassis. Dropping roofs onto framed walls is fast; dropping walls onto you is faster.
- Control collapse: cut wall studs on one side, hinge inward, and use straps to steer. Never pull from underneath or stand in the fall line because “it looks stable.”
- Silica and fibers: wet down dusty cuts; don’t dry-saw long runs indoors. Bag fiberglass insulation; wear sleeves. No leaf blowers—ever.
- Electrical ghosts: treat every wire like it’s live until your tester says otherwise. Cap ends. Photograph capped services.
- Gas discipline: if you smell gas, you’re done for the day until a qualified person clears it.
- Sharp realities: sheet metal, siding, and cut steel behave like knives. Deburr or cap edges as you go.
- Ladders and roofs: three points of contact, stable footing, no cowboy moves on wet shingles. If you can’t do it on a calm day without wind, reschedule.
- Weather and fatigue: heat + noise + vibration drains judgment. Rotate tasks, hydrate, take breaks. The worst decisions happen at 3:47 PM.
Personal rule that ages well: if you need to ask, “Is this sketchy?” the answer is yes. Change the setup.
Efficient Debris Removal and Disposal Methods
You’re not paid to make a mess. You’re paid to make it gone—legally and cheaply.
- Separate to save:
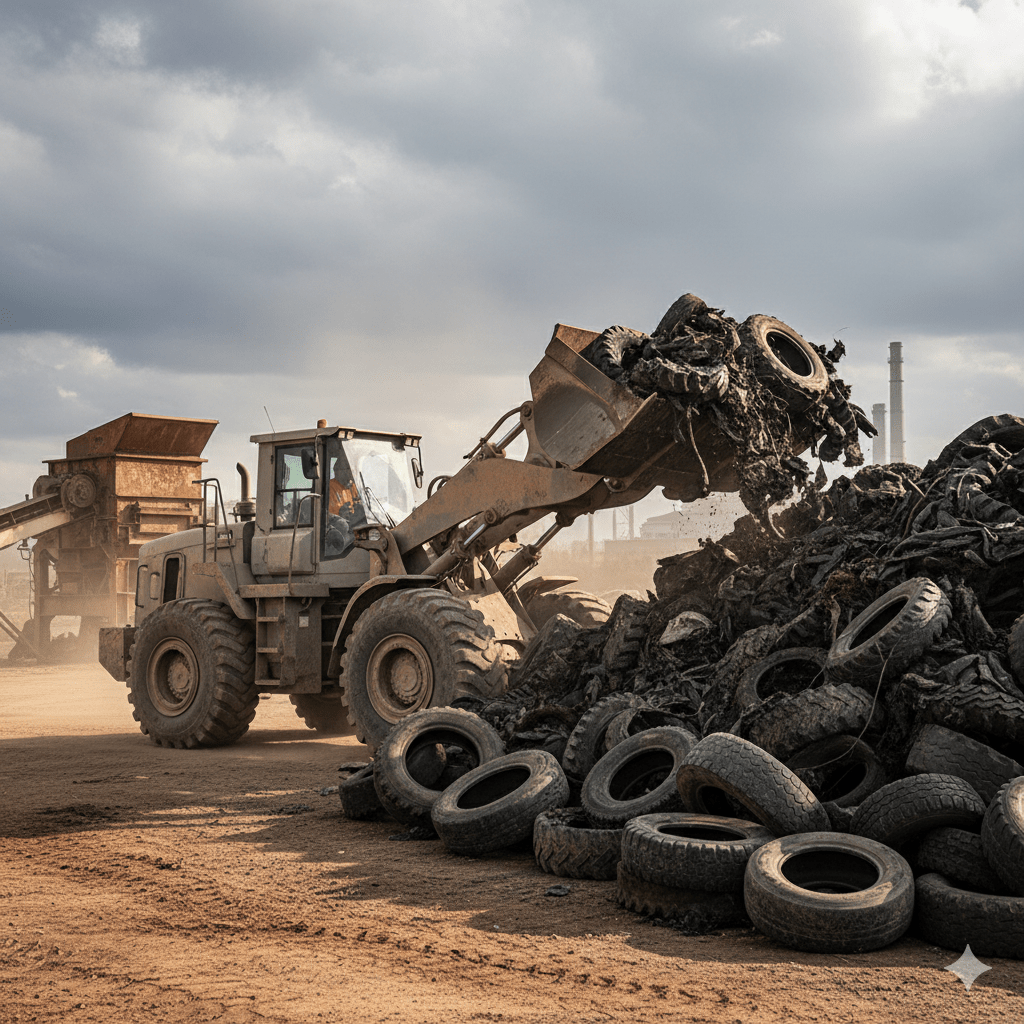
- Steel chassis, axles, hitch: scrap yard credit.
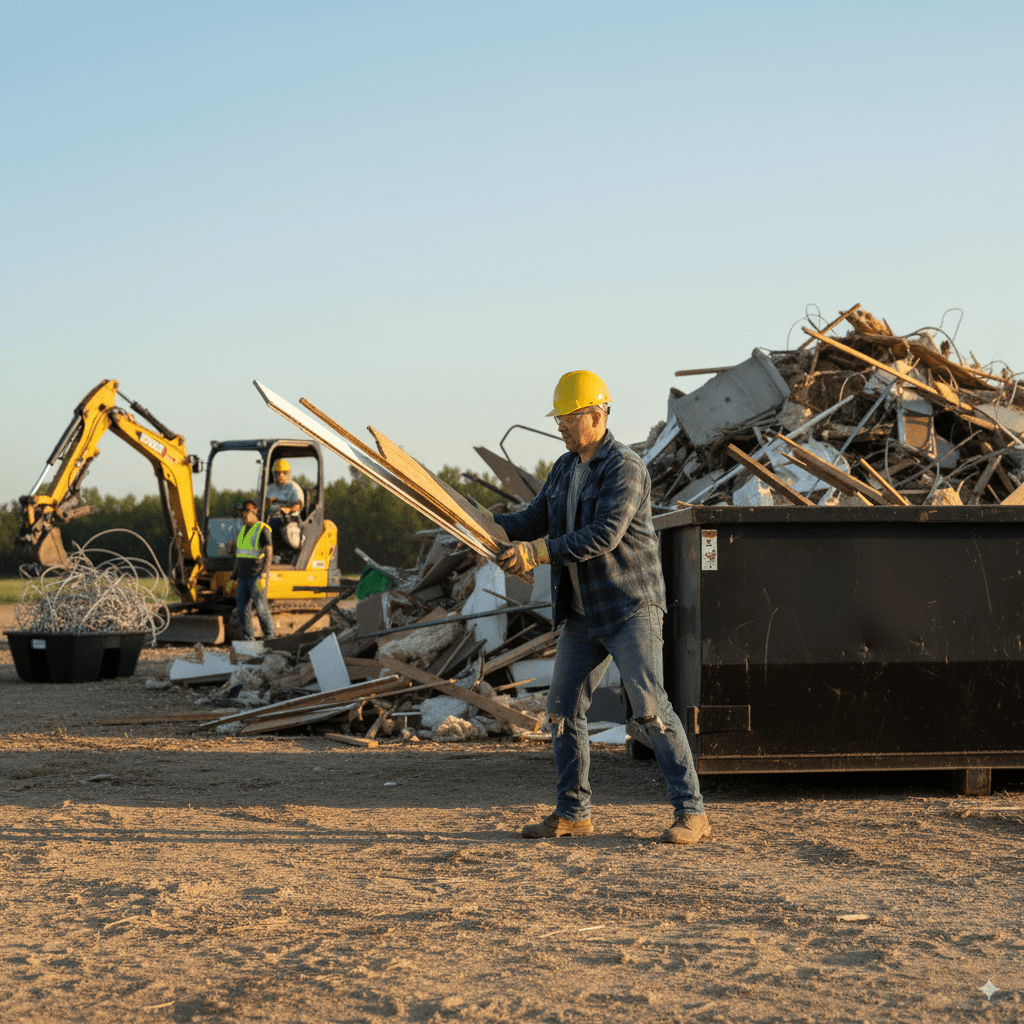
- Mixed C&D (wood, drywall, insulation): into the container.
- Appliances/e-waste/tires/mattresses: expect surcharges or special drop-offs.
- Haz-mat (paint, solvents, mercury thermostats, refrigerants): special handling only.
- Section smart: cut roof and wall panels into carryable sizes. Smaller pieces pack denser, but don’t create confetti you’ll chase for hours.
- Load like a Tetris master: heaviest and flattest first, then stackable pieces, then light fluff. Keep the trailer balanced and under weight limits.
- Keep the path clean: stage on tarps near the path; run the magnet sweep every hour. Screws and nails hide until they’re in your tires.
- Document disposal: keep scale tickets and facility names. If a city inspector asks where your debris went, you have the receipts—literally.
- Plan the cutoff: recycling yards close earlier than your energy. Time your last load so “one more trip” doesn’t become tomorrow.
Small lots need small containers and more swaps. Build that into your time and cost expectations; don’t let haul fees surprise you.
Hiring Professional Help for Difficult Tasks
DIY doesn’t mean “do every single thing by yourself.” It means you run the project; specialists run the risks you don’t want to own.
Call in pros when you hit any of these:
- Positive asbestos/lead tests or even reasonable suspicion. Abatement isn’t a YouTube hobby.
- Live or unknown utilities you can’t verify or safely cap.
- Roof-overs, heavy trusses, or sagging structures that won’t behave like textbooks.
- Tight park access with low wires/trees where a skid steer or container can’t safely stage.
- Chassis cutting near fuel lines or tanks, or anything involving hot work you’re not certified to do.
- Big clock or hard deadline. Crews with machines turn weeks into days and bring the insurance you wish you had.
What a good crew adds to your DIY: permit pulls, utility coordination, engineered dust/slurry control, safe sectioning, on-site sorting, and dump tickets attached to the invoice. You keep control; they keep you out of the ER.
The straight-through sequence (pin this to your clipboard)
- Permits approved, neighbors/park notified, utilities disconnected and capped with proof.
- Salvage valuables; remove haz-mat and refrigerants correctly.
- Detach add-ons (porches, carports, skirting).
- Strip interiors (fixtures, cabinets, paneling), then remove roofing and exterior cladding.
- Hinge walls inward in sections; keep fall lines clear and controlled.
- Lift flooring and insulation; expose and clear to chassis.
- Cut chassis into haulable sections; stage steel for scrap.
- Load container by weight and shape; keep path clean; save dump tickets.
- Final sweep, magnet pass, rough grade, photos of “done.”
Bottom line
DIY mobile home demolition isn’t about bravado; it’s about order. Paperwork first, power off for real, hazards tested, add-ons detached, structure sectioned, debris sorted, site cleaned. Do that and the home folds down without drama. Reach a problem that wants a license or a bigger machine? Bring in pros, finish strong, and keep your weekend for something you actually enjoy.