
A DIY hoarding cleanout isn’t a weekend project—it’s a sequence. You need exits for objects, safety for people, and momentum for decisions. Hoarding cleanout services follow a proven playbook: clear sorting rules, the right equipment, extra hands when needed, legal destinations for all items, and safety protocols that aren’t optional.
Sorting and Categorizing Your Possessions
Decisions get heavy when they’re unstructured. Make them light.
- The five-lane rule: Keep, Donate, Recycle, Trash, HHW (household hazardous waste). Set these lanes at the front door so every item gets a destination before it travels.
- 24-hour bin: one tote labeled “decide tomorrow.” If it survives tomorrow, it becomes Donate/Recycle. No permanent purgatory.
- One memory tote per person: a single latching bin for irreplaceables (photos, heirlooms). A lid is a boundary; a storage unit is a tax.
- Like-with-like pulls: round up paperwork, tools, kitchenware, clothing, etc. Sorting by category exposes duplicates and makes “keep the best” easy.
- Document triage: IDs, wills, titles, tax files, medical records—into a locked box. Shred anything with SSNs or account numbers.
- Photo policy: snap a picture of sentimental-but-not-useful items, then release them. Keep the story, not the mass.
Momentum > perfection. Move quickly; correct gently.
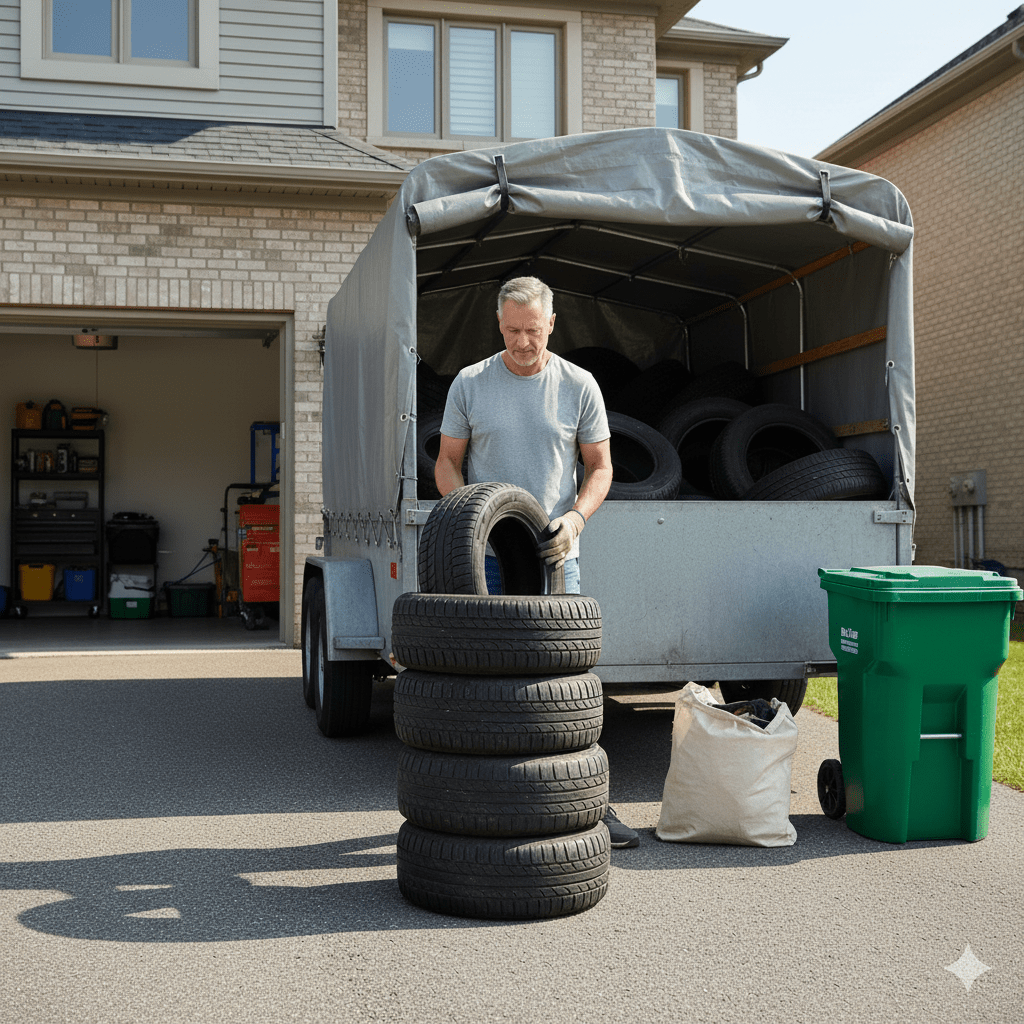
Renting Equipment for Cleanup
You don’t need a warehouse; you need leverage.
- Haul capacity:
- Light-to-moderate: pickup + 6–8 ft trailer.
- Full-home pathways: 10–12 cu yd box truck.
- Heavy/bulky + appliances: 15–20 cu yd or multiple runs.
- Moving tools: appliance dolly (strap + stair-capable), furniture dolly (1,000 lb), lifting straps, sliders, ratchet straps, tarps.
- Disassembly kit: impact driver (bits + sockets), pry bar, utility knife with fresh blades, adjustable wrench, side cutters, headlamp.
- Dust & air: HEPA shop vac, pump sprayer (mist—don’t dry-sweep), optional HEPA air scrubber for musty or dusty zones.
- Containers: 3–6 mil contractor bags, 27-gal totes (standardize one size), pop-up bins for soft goods.
- Floor protection: ram board/cardboard runways, corner guards. Save the floors you’re keeping.
Sequence to win: lay lanes → protect floors → stage totes → de-bulk big items → then detail sort.
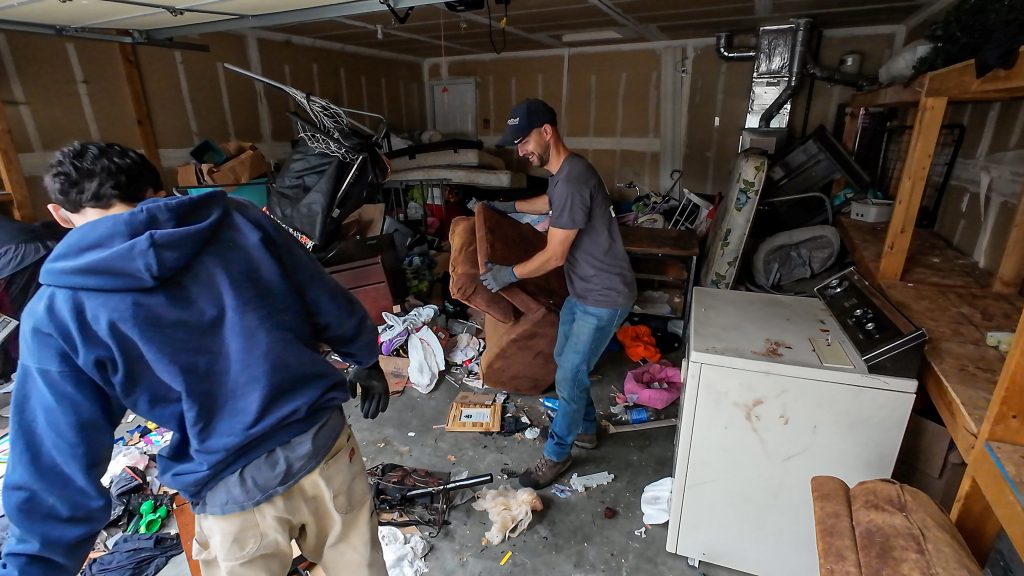
Hiring Temporary Help for Labor
DIY doesn’t mean “do it alone.” It means you’re the general contractor.
- Where to find hands: staffing apps, moving labor platforms, college boards, local faith groups, community cleanups. Ask for moving or demo experience.
- Role clarity: Lead (you), Sorters (stage by lanes), Lifters (haul and load), Runner (donation/HHW runs), Recorder (photos/receipts).
- Briefing script (3 minutes): safety rules, lane definitions, what stays, what’s HHW, who approves exceptions, where breaks/water are.
- Incentives that work: shift bonuses for hitting milestones (e.g., “kitchen + hallway clear by 1 p.m.”). Morale is equipment.
- Safeguards: background-checked helpers for valuables zones; lock the document box; one person controls doors and pets.
- Boundaries: no solo lifts, no ladders without a spotter, no eating inside, no “we’ll just toss this chemical.”
People move faster than stuff if you point them well.
Finding Local Donation and Recycling Options
Every item deserves the right exit ramp.
- Donation, fast lane:
- Habitat-type stores: cabinets, lighting, tools (safe, complete).
- Thrift partners: clean clothing/housewares (bagged, labeled).
- Schools/teams: sports gear, instruments, craft supplies.
- Maker/repair cafés: parts bins, small engines, e-waste for harvest.
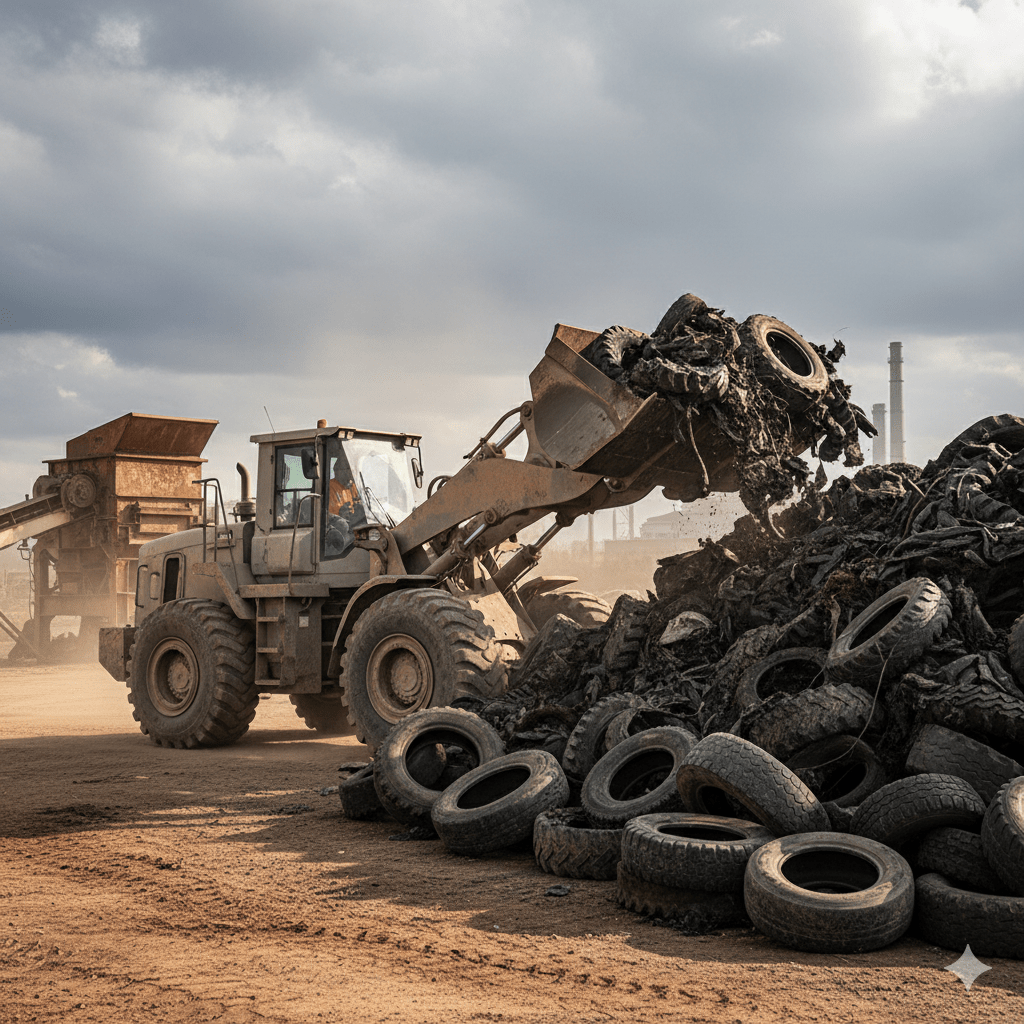
- Recycling streams:
- Metal (tools, frames, shelving) → scrap yard (keep it “clean”).
- Cardboard/paper → flattened, dry.
- E-waste (laptops, drives, printers, CRTs) → certified recycler; ask for data destruction options and fees.
- Appliances → refrigerant recovery required (paperwork!).
- HHW routes: paints/solvents, pesticides, gasoline/propane, batteries, bulbs—store upright in a lidded tote until city drop day.
- Make three quick calls before day one: donation acceptance list, recycler hours/fees, HHW schedule. Print and tape by the door.
Proof beats promises: keep donation receipts, dump tickets, and recycler slips in one folder.
Essential Safety Gear and Precautions
Hoarding environments can be unpredictable. Gear first, bravado never.
- PPE:
- P100 respirator (not just a dust mask)
- Safety glasses (ANSI Z87+)
- Nitrile and cut-resistant gloves
- Long sleeves/pants, sturdy closed-toe shoes or safety boots
- Knee pads; a hat you don’t love
- Sharps protocol: assume bags hide blades/needles. Use rigid sharps containers; never “pat down” bags.
- Air & dust control: mist, don’t sweep; HEPA vac after removal. Skip leaf blowers unless you like breathing your past.
- Load discipline: heavy low, light high; strap every tier; clear sightlines; spotter at stairs.
- Utilities: verify power/gas/water status before moving appliances. Cap lines; photograph caps.
- Biohazard awareness: rodent droppings, pet waste, mold, strong ammonia = slow down. If in doubt, pause and bring a remediation pro.
- Break cadence: 50/10 work/rest, hydrate hourly, rotate tasks. Tired people make expensive choices.
Safety is cheaper than urgent care. Plan for it.
Bottom line
DIY hoarding cleanout succeeds on sequence, destinations, and safety. Sort by lanes, rent leverage instead of pain, hire hands with clear roles, route every item to the right exit, and wear the gear that lets you do it again tomorrow. Do that, and the pile becomes pathways—and then rooms you can live in.